Love Letters Giveaway!
As we welcome a new year, we are also celebrating National Papercrafting Month! And, to help you celebrate with us, we created a beautiful letter kit for you to assemble, customize, and display using your own personal flair. What’s more, WE ARE GIVING AWAY THREE OF THESE LOVE LETTERS KITS in the next 72 hours!
All you have to do to enter into the drawing is subscribe to our blog, if you aren’t already, and leave a comment below letting us know how you would display your Love Letter(s). It’s that easy! Three lucky winners will be chosen by 11:00 a.m. (MST) Friday, January 5th, and will be notified by email to choose their letter.
Now, let us tell you a little more about these Love Letters!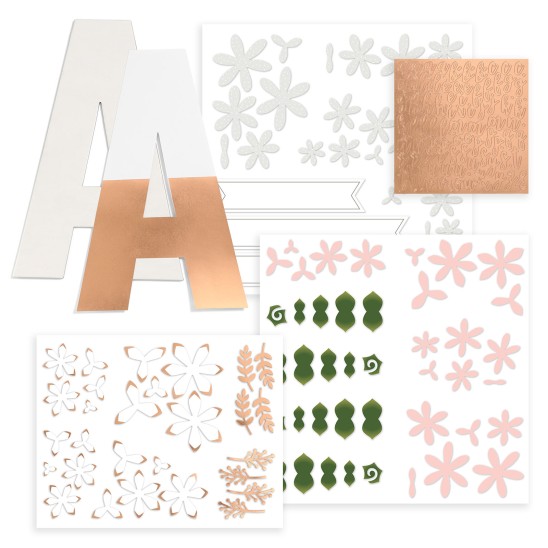
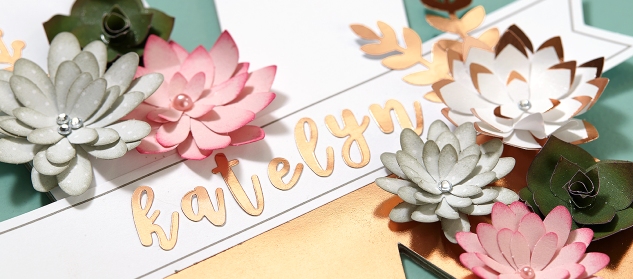
Each kit comes with one sturdy chipboard letter base, one paper and rose gold overlay piece, die-cut banners and floral embellishments, and rose gold foil alphabet stickers to create the word or name of your choice.

Each kit comes with one sturdy chipboard letter base, one paper and rose gold overlay piece, die-cut banners and floral embellishments, and rose gold foil alphabet stickers to create the word or name of your choice.
As you assemble these letters, here are a few tips to keep in mind.
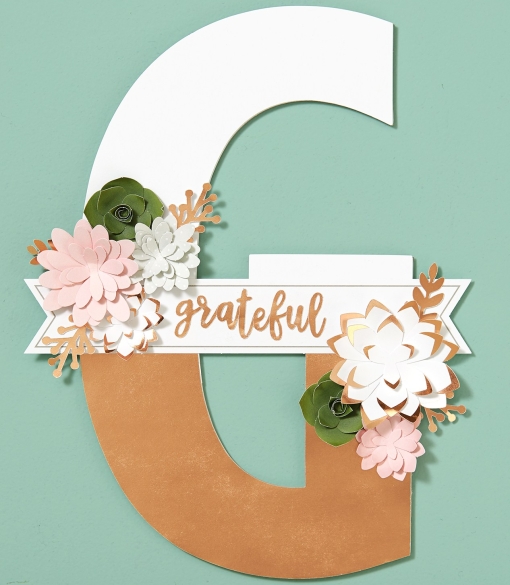
1. The first thing is that you don’t have to use all of the pieces included in the letter kit. Depending on how you plan to use the letter, you might opt out of the banner or some of the flowers and succulents. The number of die-cuts you want to use will depend on the shape of your letter and the length of the word you’ve chosen. Remember, sometimes less is more.
2. If you are using the banner for a word or a name, add the alphabet stickers to the banner before attaching it to the letter. It’s also easier if you begin your word in the middle and work your way out. This way, you can make sure your word is centered and you have enough room for all of your letters prior to attaching any additional embellishments.
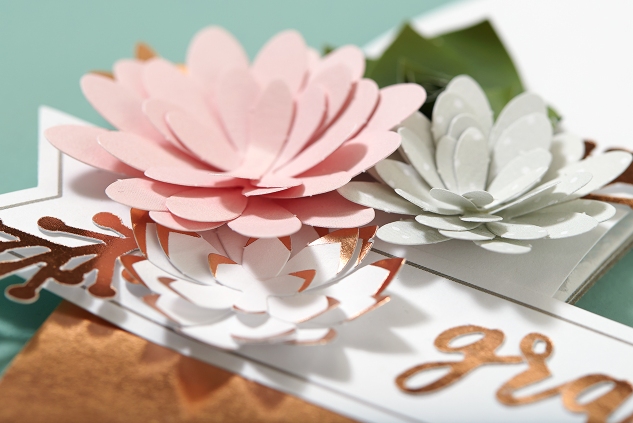
3. As you assemble the flowers, consider using your finger, a pencil, or any soft round edge to help shape some of the petals. (Not all of your flowers have to have curved petals). Also, when arranging them on your letter, do so before attaching them. Try arranging your flowers in triangles of color. If you’re not quite sure how to do that, look at the instructions insert including in your kit. There, you will find a completed example for each letter and the ampersand. (It’s okay to copy. We won’t tell!)
4. For those of you who want to take this project up a notch, there’s always some wiggle room. Look how we used a handful of additional products (not included in the kit) to quickly and easily embellish the flowers. The petals edges were given a pop of color with a sponge and some ink. We added sparkles and pearls to the flowers’ centers, and used the brand-new Bashful shimmer brush for a touch of extra shine on the green succulent petals.
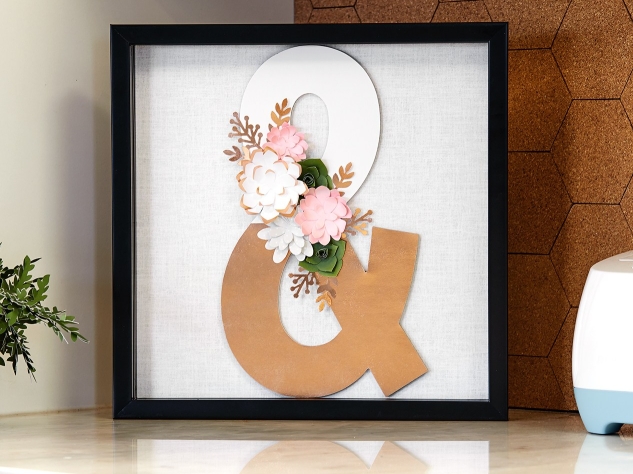
These Love Letters are so versatile. Put them in frame, a wreath, or hang them on their own. Create words, names, or initials. They work in your living room, a bedroom, a nursery—really anywhere!
We hope you are as excited about National Papercrafting Month as we are. Don’t forget to subscribe and leave us a comment below telling us how you would use your Love Letter for a chance to win one letter of your choice FREE!!
For even MORE CHANCES TO WIN, visit us on Instagram and Facebook where we are giving even more of these away! (What?!) Make sure to follow us for details on how to enter these separatedrawings!!
Can’t wait to hear from you!





No comments:
Post a Comment
What did you think? Please leave a comment and make my day!