Postcard Perfect Cardmaking!
This post was written and photographed by our talented friend, Mayline Jung, whose love for the arts, design, and papercrafting (especially cardmaking!) has resulted in praise, admiration, and professional recognition from her fellow crafters. Check out her beautiful creations below and show her some love in the comments!
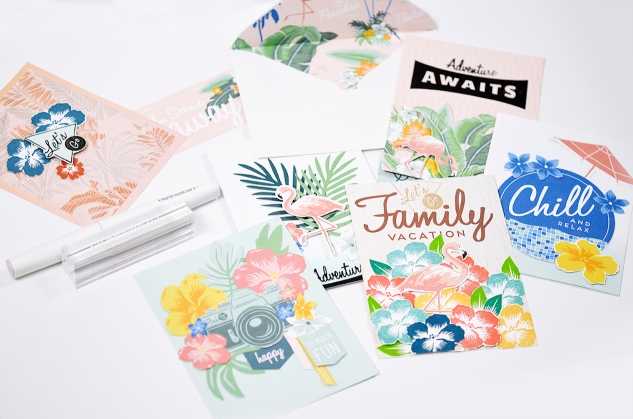
Hello everyone! I am so happy and honored to be here with you. My name is Mayline and I love cardmaking! It was by chance in 2012 that I watched a cardmaking tutorial on Youtube. I immediately fell in love with the craft so I watched tutorials for an entire year when finally, at the end of 2013, I decided to try to make my own cards. I love clean and simple cards which are based on my unique creative ideas and layouts.
Today I am sharing six cards I created using the Postcard Perfect paper packet and stamp set. Each card comes with a video showing my cardmaking process from start to finish.
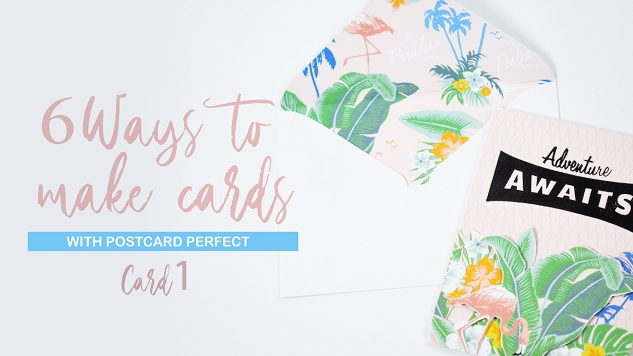
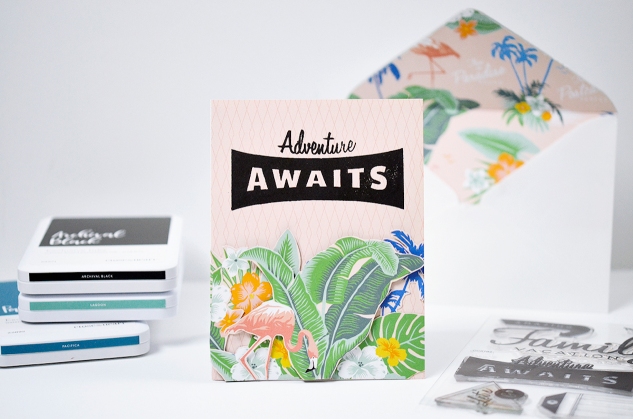
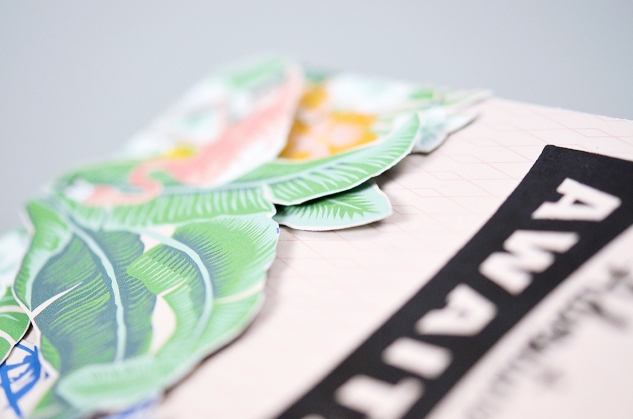
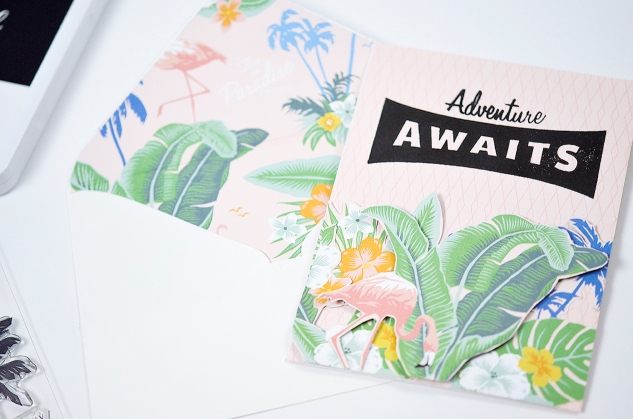
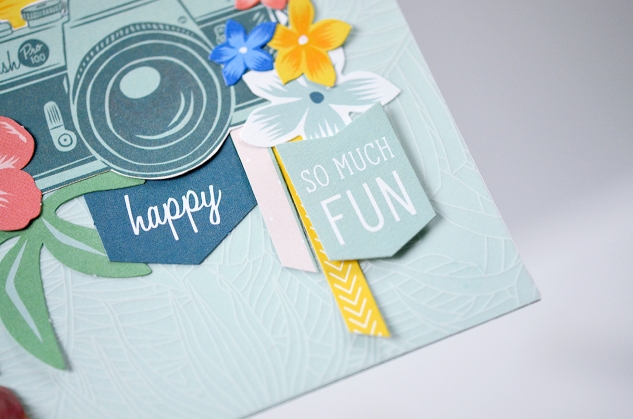
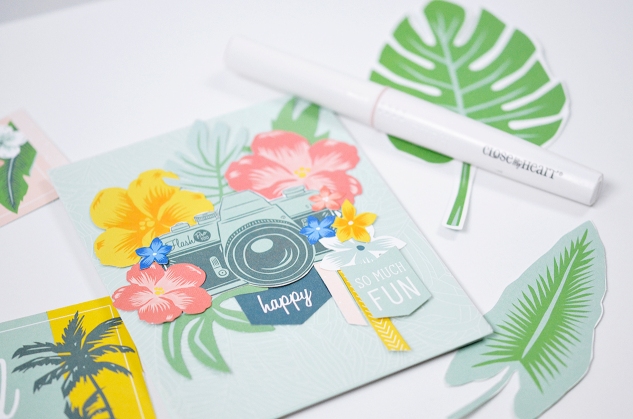
For this card, I used the tropical paper. I fussy cut all the images, arranged them on the card base, and mounted them with adhesive and 3-D foam tape. I also decorated the inside of an envelope using the same tropical paper, resulting in a very special set.
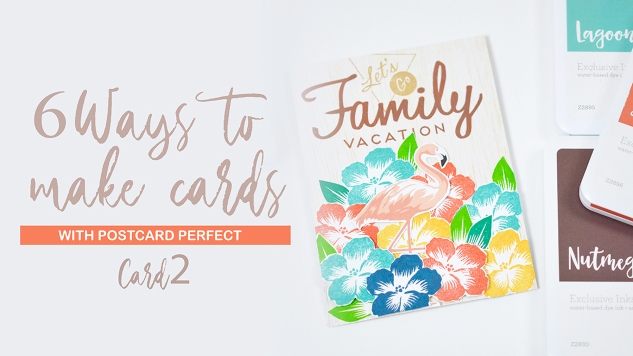
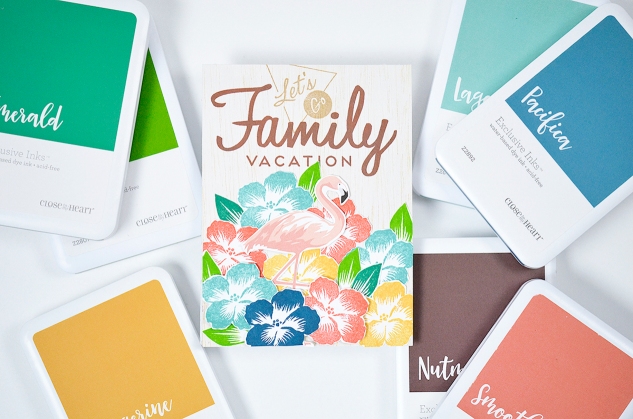
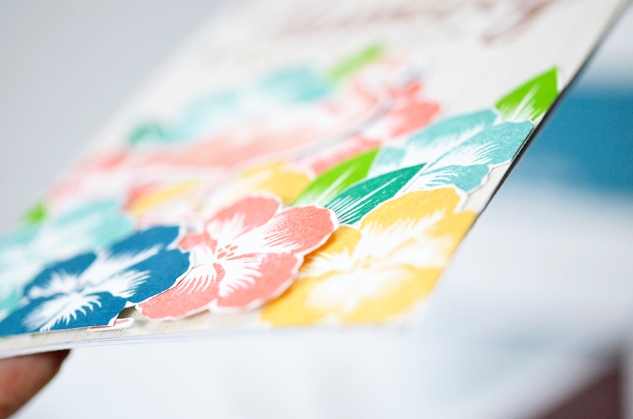
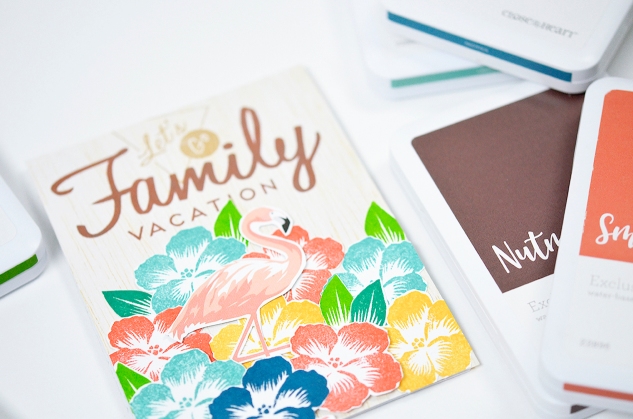
Here is my second card using the Postcard Perfect stamp set and Postcard Perfect paper packet. I stamped hibiscus images using various color inks on white cardstock and then fussy cut them. It’s so fun to stamp on paper! (Sometime I do it just for the fun of it!) If you are like me, you will enjoy making this card.
Supplies:
- My Acrylix® Postcard Perfect Stamp Set (CC5184)
- Postcard Perfect Paper Packet (CC5181)
- Exclusive Inks™ stamp pads: Pacifica (Z2892), Emerald (Z2806), Willow (Z2807),Tangerine (Z2809), Lagoon (Z2895), Nutmeg (Z2830), Smoothie (Z2896), and Toffee (Z2828)
- 3-D Foam Tape (Z1151)
- Adhesive Runner (Z3372)
- Scissors
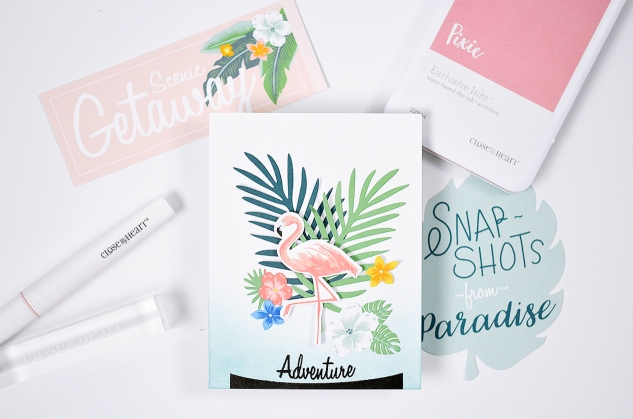
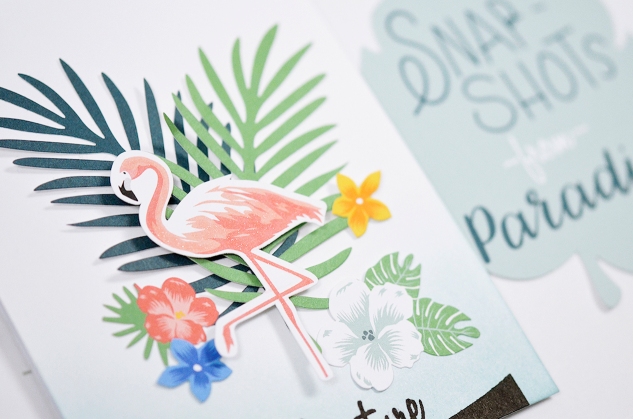
Here is my next card, where I used the Postcard Perfect Cut Above® layout kit. After using the kit to make my scrapbook layouts, I had a lot of stickers and die-cuts left over. So, I used the stickers to make this card. And I love how it turned out!
Supplies:
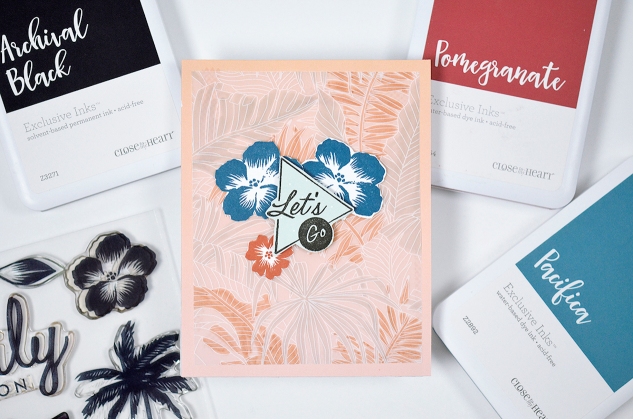
In this next card, I used the tropical leaves patterned vellum paper with stamps and markers.
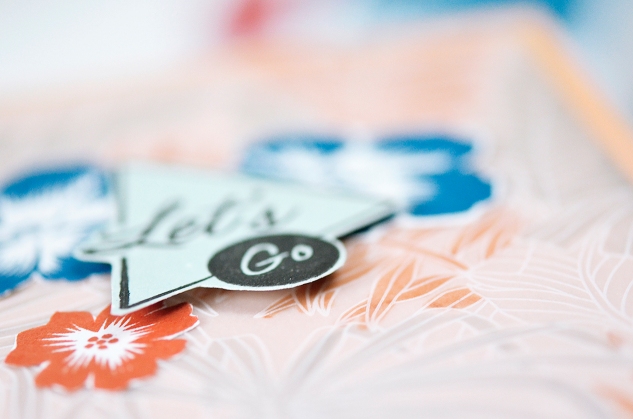
This is a fun technique. I just used markers to color the vellum and the results are amazing! I colored the leaves with grey and light peach color markers—you can try this with any markers you may have—by gently coloring over the leaves, making sure to go slowly and with little pressure, so the pigment transfers to the leaves only. Don’t forget to color on the back of the vellum!! It turned out amazing! In this video tutorial, I walk you through exactly how I made this card.
Supplies:
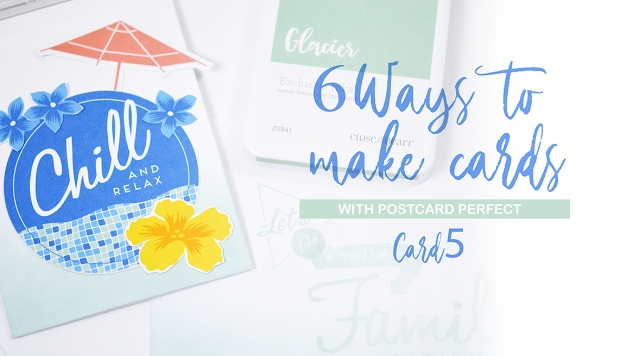
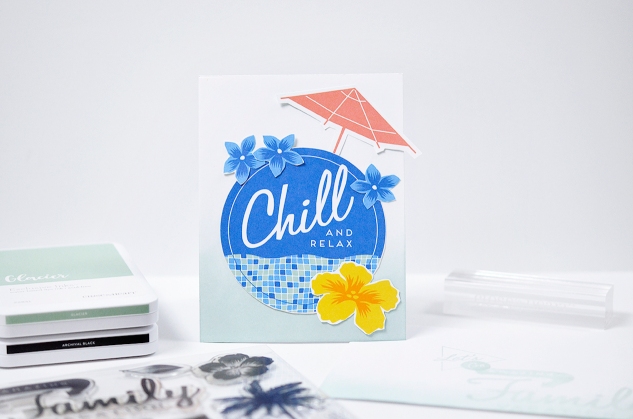
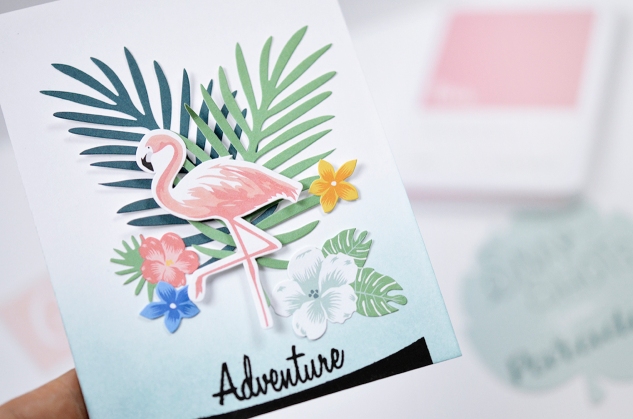
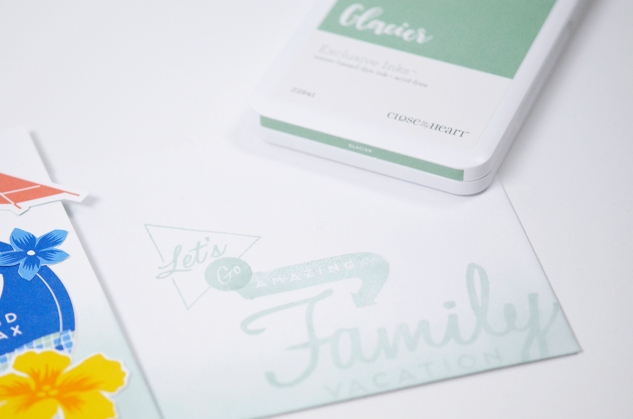
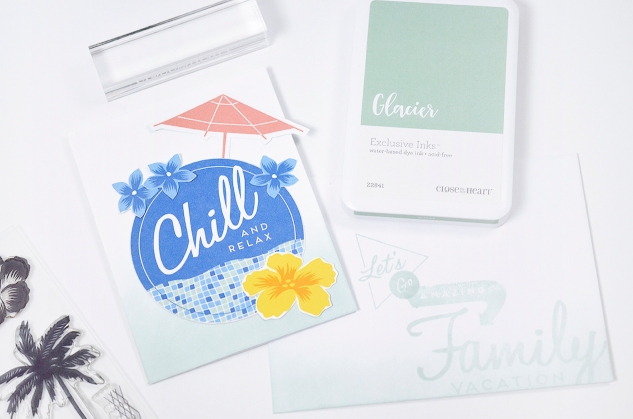
This next card takes less than 10 minutes to make. I used blending tools to blend the bottom of the paper. I then fussy cut the images and adhered them on the paper. That’s all. Easy peasy lemon squeezy!!
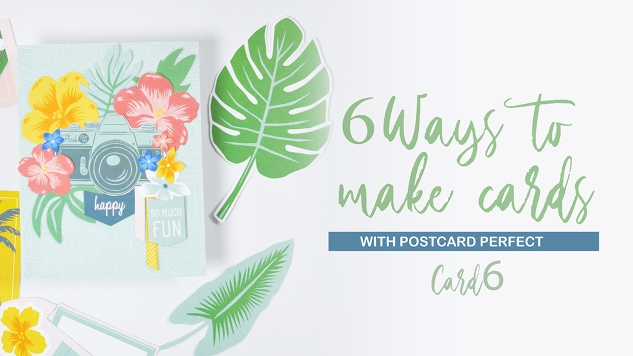
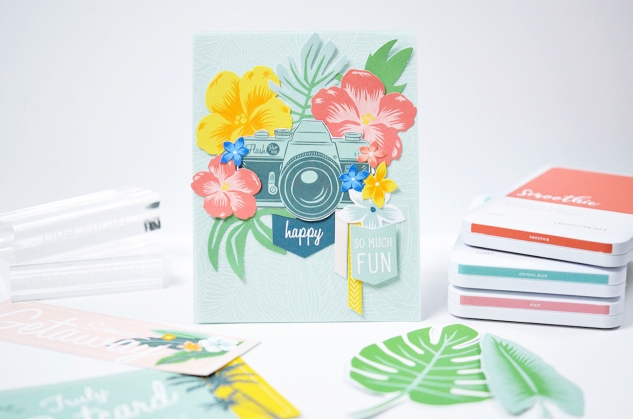
For my last card, I used all my leftover stickers and die-cut pieces with vellum paper. This is perfect combination for a fun and unique card!
Supplies:
- Postcard Perfect Coordinating Cardstock (CC5183)
- Cut Above® Layout Kit—Postcard Perfect (CC5182)
- Postcard Perfect Paper Packet (CC5181)
- Archival Black Exclusive Inks™ Stamp Pad (Z3271)
- Glacier Exclusive Inks™ Stamp Pad (Z2841)
- 3-D Foam Tape (Z1151)
- Adhesive Runner (Z3372)
I hope you’ve enjoyed these projects. Thanks for stopping by!



No comments:
Post a Comment
What did you think? Please leave a comment and make my day!