OH BOY are you going to LOVE this blog hop! We're featuring our VERY SPECIAL special called Creativity in Motion......yes motion! We'll show you how to create projects that images that appear to move!
Since this is a blog hop all you have to do is click the link in each post to hop to the next blog in our talented group of Close To My Heart consultants. You are going to see AH-MAZING ideas on this hop! The blog before mine belongs to Katy Taylor.
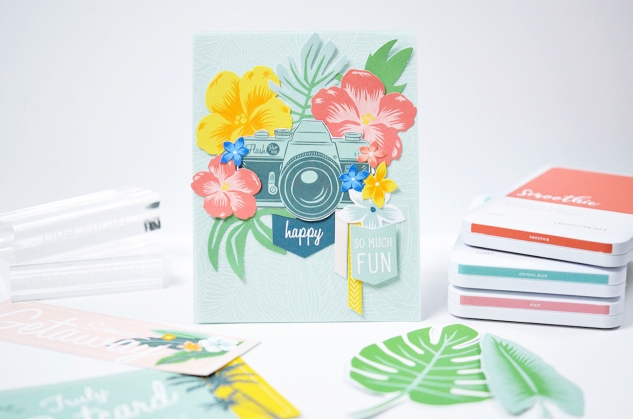
There is an Event Bundle available that includes ALL the items in this special at a 30% discount but you can buy individual items at regular price if you like. Personally I think the bundle is the way to go because you're going to want it all anyway so you might as well get it at a discount, right! I have a photo and list of items below everything in the special.
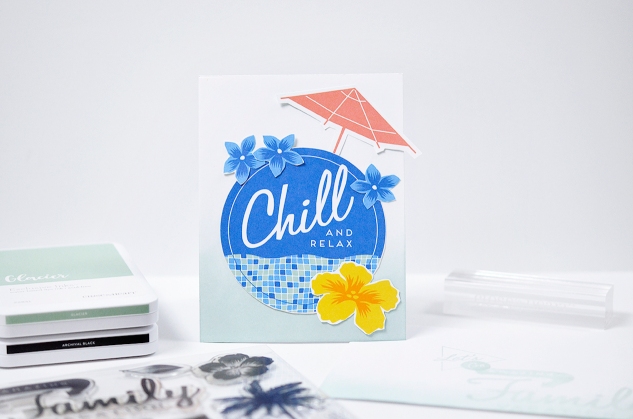
My favorite stamp set of the three is the Butterfly Kisses set. I decided to use the dragonfly and it looks awesome when in motion! The pattern paper is from the Bright Stack which has so many patterns to chose from! I decided to make a rectangle for my dragonfly to fly in. Using my Stitched Rectangle Thin Cut dies I cut the medium frame.
Assembling the motion frame is easy and there are instructions that come with the product. First you cut the Animation Sheet to the size you need for your frame and glue it to the back of the frame. The instructions say to line the back of the frame with foam tape on three sides (one needs to stay open so you can slide the stamped cardstock). I find if you cut small pieces of foam tape to place in the corners and a couple in between on the three sides it works just fine and saves on your foam tape. When you have it ready place the frame on top of the stamped cardstock lining up the edges and press in place.
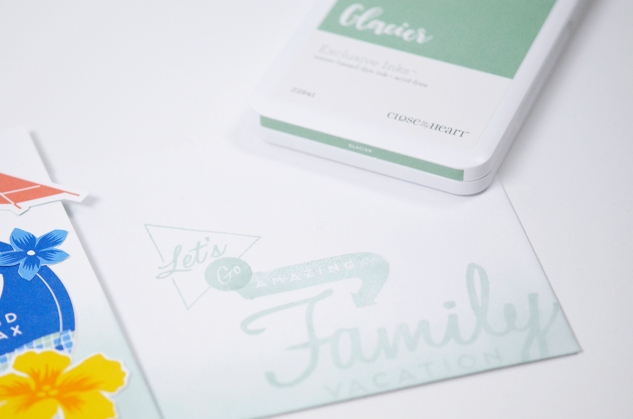
Stamp your image on a piece of cardstock with the image "lines" being vertical. The piece of cardstock should be the width of the frame with the height matching the inside of the frame since it needs to slide back and forth in the frame. Using one of the Border Tab Thin Cuts cut a piece of cardstock about 1" wide to go at the end of your stamped cardstock for your pull tab. After stamping one of the "hints" to pull on the tab glue it to the end of the cardstock leaving a 1/4" allowance on the pull tab.
Now you're ready to slide the stamped cardstock with the pull tab into the frame. As this piece moves slowly back and forth as you slide it you can see the movement of the image! SO COOL!
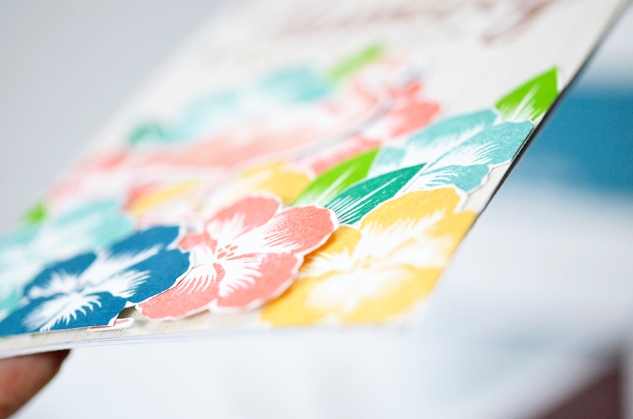
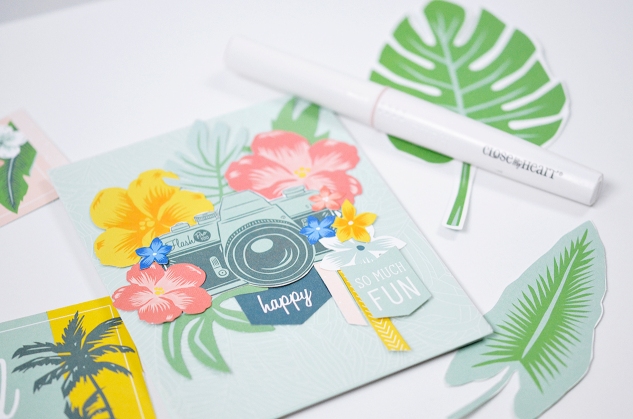
After that part of the card was done I wanted to fancy up my frame with some flowers. I used flowers and hearts from the Florals & Flutters stamp set. I love the bright pop of color it gives to the card and how it "anchors" the left side of the frame. I also added some sparkles because well.....sparkles!
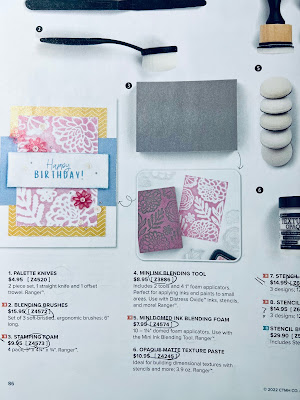
Includes:
1 – My Acrylix® Animated Sentiments Stamp Set (CC9201)
1 – My Acrylix® Animated Butterfly Kisses Stamp Set (CC9202)
1 – My Acrylix® Animated Safari Animals Stamp Set (CC9203)
1 – My Acrylix® Border Tab Stamp Set (CC9204)
1 – Animation Sheets pack (CC9205)
1 – 6" × 6" Bright Stack (CC9207)
1 – Border Tab Thin Cuts (CC9206)
1 – Clear Sparkles (Z3274)
12 – white card bases & envelopes
Other Close To My Heart products used for this card.
- White Cards and Envelopes Value Pack
- Stitched Rectangle Thin Cut Dies
- Cardstock: Lagoon, White Daisy, Sapphire
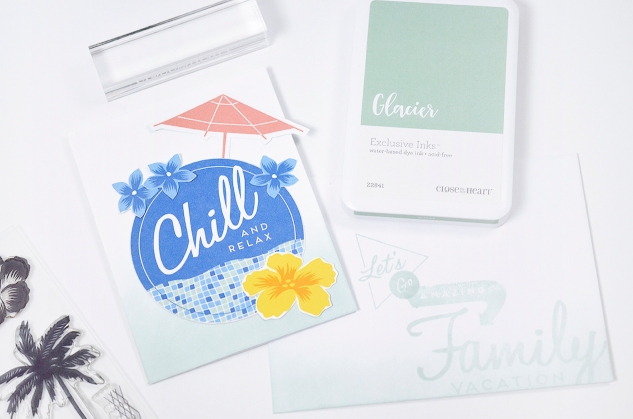
- Exclusive Inks: Intense Black
- TriBlend Markers: Green Turquoise, Citrus, Light Green, Dark Red, Blender
- Bitty Sparkles, Thin 3D Foam Tape
If you need a consultant I'd be happy to help.
Before you go...... be sure to sign up to follow my blog so you don't miss any great ideas! The link is in the left column. You can also find me on Pinterest and Facebook with the tabs in the header.
Now it's time to hop over to see what awesome ideas
Maureen O'Sullivan is sharing with us.
Have fun hopping!
Michelle
#showandtellwithmichelle #ctmh #motioncards #cardmaking #blog hop