Showing posts with label layouts. Show all posts

Tuesday, July 7, 2026

Artisan Sketched Garden Layout

 Today felt like a layout kind of day. I don't have enough of those days. I can't tell by all the photos I have in a box. *sigh. I need more layout days.  

This past Saturday I took part in a team class and it was SO fun! So many, many ideas were learned and shared so I thought I'd incorporate a few into this layout. 


This idea stats with a coloring technique from Patty Bennett with the Artisan Sketched Garden DSP (Designer Series Paper). It's so simple and quick. She also showed how to turn this into a One Sheet Wonder for card making. I'll be sharing some of those in upcoming posts. 

I picked three colors as my theme: Pool Party, Hydrangea Hue and Peaceful Pine. Pool Party doesn't photo well here but it looks great in person. Trust me. Once you have your colors picked you're ready to begin coloring with blending brushes. Simply brush your colors all over the sheet in a random way until the sheet is fully colored. This is my sheet after I cut off a 4" strip for my layout. I'll use the rest of the sheet for those cards I mentioned.


Here is a close-up of the banner. I used the word party that came with the class supplies. Some of the letters are popped up on Stampin' Dimensionals. The ribbon is adhered with glue dots to hold it in place in the middle and back of the layout. I left the ends free so I could slip under the ribbon to make the tassels.

To make the tassels, cut strips of ribbon...as many as you like. I only used two here to keep my tassels flatter and lay nicer in an album. Layer your ribbon strips on top of each other and slip it half way under the ribbon on the layout. Fold over the strips and tie with another ribbon that is cut in half down the middle. After tying, cut the strips up the middle to make them skinnier., I used a couple of glue dots to hold it in place once on the layout. Hoe fun is that?!!

In this close-up you can also see I added Rhinestones to the butterflies for a bit of sparkle.


Here is my photo ready layout. the base is a sheet of Pool Party Two Tone card stock. I used the dark side for the base and a piece of the light side for stamping the butterflies. It really makes a nice contrast. There is a piece of Vellum on top of the base. It's a nice softened look of the Pool Party. 

The photo mats just waiting for those photos. On the right I overlapped them a bit. Since I don't have the photos yet I made sure to leave the bottom of the top mat loose so I can slip the photo under it on the bottom mat. I can then leave it that way or tack it down with a glue dot.


I hope you enjoyed seeing this layout with its fun techniques. Why not get some Artisan Sketched Garden DSP for yourself. Since it's all black & white patterns you can use as is or color it up any way you like!  I'll be sharing more ideas on using this fantastic pattern paper.

Have a crafty day!

Michelle Loncar
Independent Stampin' Up® Demonstrator 
MichelleLoncar.stampinup.net
Images©Stampin' Up!®

#showandtellwithmichelle #scrabooking #layouts #artisansketchedgardenpaper

Tuesday, December 9, 2025

Brushed with Beauty Layout

 Recently SU hosted a Craft Class online and this layout was one of the projects we made during the class. It's a beautiful layout full of details that draw your eye in to where the photo will be. As you can see, I haven't picked out a photo just yet, but I'm pretty sure it will be a photo showing off one of my beautiful granddaughters. 

Brushed with Beauty is one of our newest products coming up in the January-April 2026 Mini Catalog. It's has beautiful florals and neutrals that will work for any project. Let's take a closer look at the layout.

The base is a nice pattern in a neutral tone. On top of that is a piece of Vellum with torn edges on both the top and bottom. I love Vellum! It breaks up the layers in a subtle manner. 

Net is the photo mat surrounded by florals and leaves. The leaves were die cut from pattern paper giving them a lovely texture. The flowers have two layers, a solid bottom and an outlined top layer. They are not designed to fit exactly over each other which gives a pretty and lacy look. 

The labels look a bit crooked because they are not secured to the layout just yet. Because the photo needs to be added I only put Stampin' Dimensionals on the end of the label not over the photo area. I left the protective covering on the Dimensionals that will cover the photo. 


The larger flowers have a sparkle to it. On the solid bottom layer I applied Shimmer White Embossing Paste. I love the texture and sparkle this adds to the flowers. They are also popped up on Stampin' Dimensionals.


I'll be sharing the other projects from this Craft Class in the neck few days. I hope you'll consider joining us for future Craft Classes! They are so much fun and there are plenty of tips and techniques to learn along the way! I'll keep you posted on upcoming Craft Classes!

Michelle Loncar
Independent Stampin' Up® Demonstrator 
Images©Stampin' Up

#showandtellwithmichelle #Craftclass #layouts #brushedwithbeauty


Wednesday, March 5, 2025

Boy Layouts with Everyday Happiness DSP

 Last week I shared a layout of my granddaughter using the Everyday Happiness papers. This week I'm sharing layouts of her b brothers using the same papers. Even though at first glance the papers might seem more feminine with a few adjustments in design you can easily use them for masculine themes, too. 

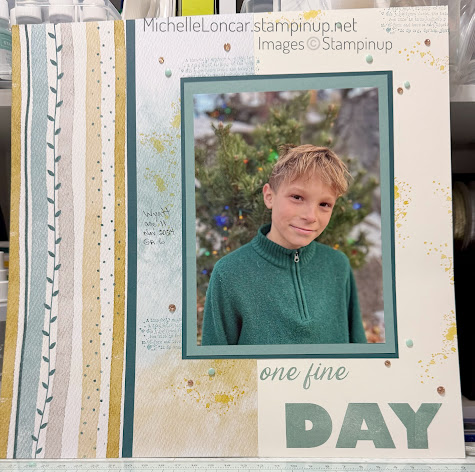
I kept the design more simple this time but doing more stamping in the background and not using flowers. I also used the stripe pattern on the left of the page in a more prominent place. 

Click here to compare last week's layout.


Everyday You & Me Cardstock Pack
Documenting The Day

Love This Moment

Elements of Text

A few more items:

Thanks for stopping by! Come back often for more ideas!

Michelle Loncar
Independent Stampin' Up Demonstrator 

#showandtellwithmichelle #layouts #scrapbooking #everdayhappiness

Wednesday, February 26, 2025

Everyday Happiness Layout

I love how this layout turned out! The Everyday Happiness DSP spoke to me as soon as I saw it and I waited to use it until I found the right photo. This one of my sweet granddaughter was perfect and the layout came to life! What do you think? 

I used a layout inspiration from Pinterest to get started and from there it came together easily. I used a variety of supplies in my stash to create this look. I'm sure you must have similar items in your stash but just in case some of these catch your eye I've included links below.

This is a good example of not using typical colors for flowers. Taking my color cue from the papers and photo I decided to go with the brown tones for the flowers. I did use a yellow tone for the small flowers but honestly I'm not a big fan of yellows so I kept it as an accent. 

I love how the arches look along the right side and show off patterns in the pack. The die cut heart is a perfect accent to tie in the left side florals.  I think this is one of my favorite layouts ever!


Everyday Happiness DSP

Textured Floral Stamp Set


Textured Floral Dies


Everyday Arches Dies


Heart Shaped Bundle

A few basic products also used:

Thanks for stopping by. I'd love to hear what you think of this layout. 


Michelle Loncar
Independent Stampin' Up Demonstrator 

#showandtellwithmichelle #layouts #scrapbooking #everydayhappiness

Friday, January 3, 2025

Wrestling Layout ~ Color Dare #633

Let's start out the New Year with a layout! I hope to stay more on track with scrapping photos so hopefully you'll see a lot more layouts along with other projects. 

These photos are from a wrestling tournament last month. My grandsons are really good because they learn from their Dad who was inducted into the Wrestling Hall of Fame in his home state.

For this layout I'm showing how you can use card sketches as inspiration for a larger sized project like a layout! This is also part of the Color Dare Challenge. For this challenge you need to pick ONE color from each group in the graphic. See the graphic for the fine print.

My background is made of 3-1/2" squares. These squares represent the ones in the sketch. I simply put a bit of space between them to create some more white space for the bold colors. The sentiment was enlarged, moved to the left and tipped a bit. With those details I have the sketch influences in my layout! 

See below for a list of products used to make this layout.


Card Sketch from page 22 of the Annual Catalog 24-25


Link to Color Dare #633

Documenting the Day Stamp Set
You can get this strap set FREE during our Sale-a-bration!
Click the link to read about it!

I wanted some texture on the word day since it is so large and solid. 
Once I inked the stamp I pulled it across the stamp pad to create the streaks.
After stamping the words and heart in Real Red I used the same color marker to 
add a bit of outline to the word day to tie the colors together.

Another way I brought in the Real Red was to color the Rhinestone Gems.
After placing them on the layout I used the brush end of the marker to
kind of swirl it around the top of the gem. 


A few more products used for the layout:
There you have it. Use those card sketches to inspire you for larger projects like layouts or home decor. Watch for ideas on how to take a larger sketch and reduce it for sizing a card! The idea can go both ways!

Thanks for stopping by. Give our Color Dare Challenge a try. We love seeing how you're inspired by our colors. 

Michelle Loncar
Independent Stampin' Up Demonstrator 

#showandtellwithmichelle #colordare #colorchallenge #layouts #sketches

Friday, August 30, 2024

Frosted Forest Layout Color Dare #616

I hope you've come here to be inspired by our Color Dare Challenge! Each Friday we give you a set of colors to create with. This week you must use Brown and White + ONE color of choice. See the graphic below for the fine print rules. 

Make any paper craft you like. When you're ready to join our challenge click here.
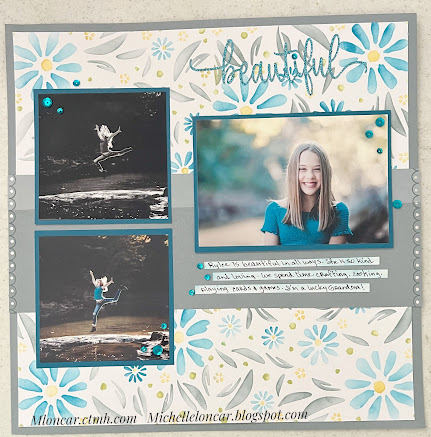
For this challenge I decided to create a layout. I need to get caught up on scrapping and this seemed like a good chance. 

For my one choice color I decided to use green I used the Frosted Forest Bundle to create the bottom border. In this bundle you get the beautiful stamp set, coordinating dies AND a total of 6 masks (stencils)! Wow what a great bundle!

For me I find it easiest to stamp the image first then use the masks. The masks all have a number or letter and a notch in the upper left corner. This makes it easy to use and keep it straight. 

For the title I used a Cricut image. It's a bit hard to read the top part. It says, This is the Life. I added a few gems to draw your eye up to the title. Now for the photos........

See below of a list of products used on this layout.


Close-up of the stamped/stenciled trees.


Frosted Forest Bundle

Other products used:
So what are YOU going to do with this color challenge? We can't wait to find out!
Michelle Loncar
Independent Stampin' Up Demonstrator 

#showandtellwithmichelle #colordare #colormyheart #colorchallenge

Friday, February 16, 2024

Fun Birthday Layout ~ Color Dare #588

Friday means a new color challenge from our Team at Color My Heart Color Dare. For this challenge you need to use at least 3 of the colors in the grid. See the graphic for the fine print rules. You can't add any extra colors to the grid but there are some free colors we let you use in addition to the grid colors. 

We reference Close To My Heart colors but you can use any brand you have as long as you can make a very close match. Kind of close doesn't count. Make any paper craft you like. When you're ready to join our challenge click here to go directly to Color Dare #588. 

I created this layout using a patter from our How-to Guide called Make It from Your Heart (Volume 6, Pattern 1). You get samples, plus cutting and placement guides. Make it exactly as shown or use it as a starring point. Either way it makes crafting quick and easy.

For the pattern papers I raided my stash of retired papers. I found them in Lagoon, Sundance, Scarlet and a Neutral so those became the point I worked around.  The stamp set I used can be seen below. What a versatile set it is and made things come together easily. This layout will be for an upcoming birthday of a grandson.

See below for a list of products used for this layout.


Direct link to Color Dare #588


Z7103 Let's Party - Scrapbooking + Thin Cuts

Close To My Heart products used for this layout:

If you need a Maker (consultant) I'd be happy to help.
If you'd like to BE a Maker I'd love to have you on my team!

Have you heard about our new VIP Customer Program? As a member you enjoy perks like a discount on your orders, FREE Stamp of the Month, special product bundles and online events. 


Before you go...... be sure to sign up to follow my blog so you don't miss any great ideas! The link is in the column on the right.

Michelle

#showandtellwithmichelle  #ctmh #scrapbooking #layouts #colordare #colormyheart

Friday, January 19, 2024

Birthday Layout ~ Color Dare #584

Our Color Dare Team is challenging you with colors found in the Close To My Heart paper pack called Let's Party. These bright colors lend themselves to a very cheerful and happy celebration.

We reference Close To My Heart colors but you can use any brand you have BUT you have to be able to make a VERY CLOSE MATCH. Kind of close doesn't count. Make any paper craft you like. When you're ready to join our challenge click here to go directly to Color Dare #584.

It's coming up on a family birthday so I got busy and created a layout for the photos I'll have!  I went to my How-to Guide: Make It from Your Heart (Vol. 6) and picked out a layout. The book provides the samples plus cutting and placement guides to help you create the layout as or use it as a starting point. See below for a list of products I used for the layout.


Direct link to Color Dare #584


Additional Close To My Heart products used for this layout:

If you need a Maker (consultant) I'd be happy to help.
If you'd like to BE a Maker I'd love to have you on my team!

Have you heard about our new VIP Customer Program? As a member you enjoy perks like a discount on your orders, FREE Stamp of the Month, special product bundles and online events. 

Check this out!!!
Starting November 1st and going to January 31st you can sign up as a VIP Customer and get a $25 sign up bonus instead of $15.

If you're already a VIP Customer and you're due to renew during this time frame you'll get the same bonus when you renew!

Before you go...... be sure to sign up to follow my blog so you don't miss any great ideas! The link is in the column on the right.

Michelle

#showandtellwithmichelle  #ctmh #colordare #colormyheart #scrapbooking

Friday, November 10, 2023

Journey Layout ~ Color Dare #574

This week we're giving you our fun Tic Tac Toe color challenge. First pick your colors by row, column or diagonal. After that you can use any of the other colors in the grid. You can even use them all. What you can't do is add other colors not in the grid. See the graphic for the fine print rules. 

We reference Close To My Heart colors but you can use any brand you have as long as you can make a very close match. Kind of close doesn't count. Be very careful with your colors if you're doing multiple challenges. Make any paper craft you like. When you're ready to join our challenge click here for the direct link to Color Dare #574.

Taking colors from the photos, I started with the left to right diagonal: Journey, Silver, Honey Butter. I then added Limeade and Mist. Using the stencil seen below and blending brushes I created the background. The larger photo is popped up on thin foam tape. I added journal strips and lightly added some Journey ink to soften the look. Journey sequins are sprinkled around to add some prettiness.  

Close To My Heart products used on this layout:


Direct link to Color Dare #574


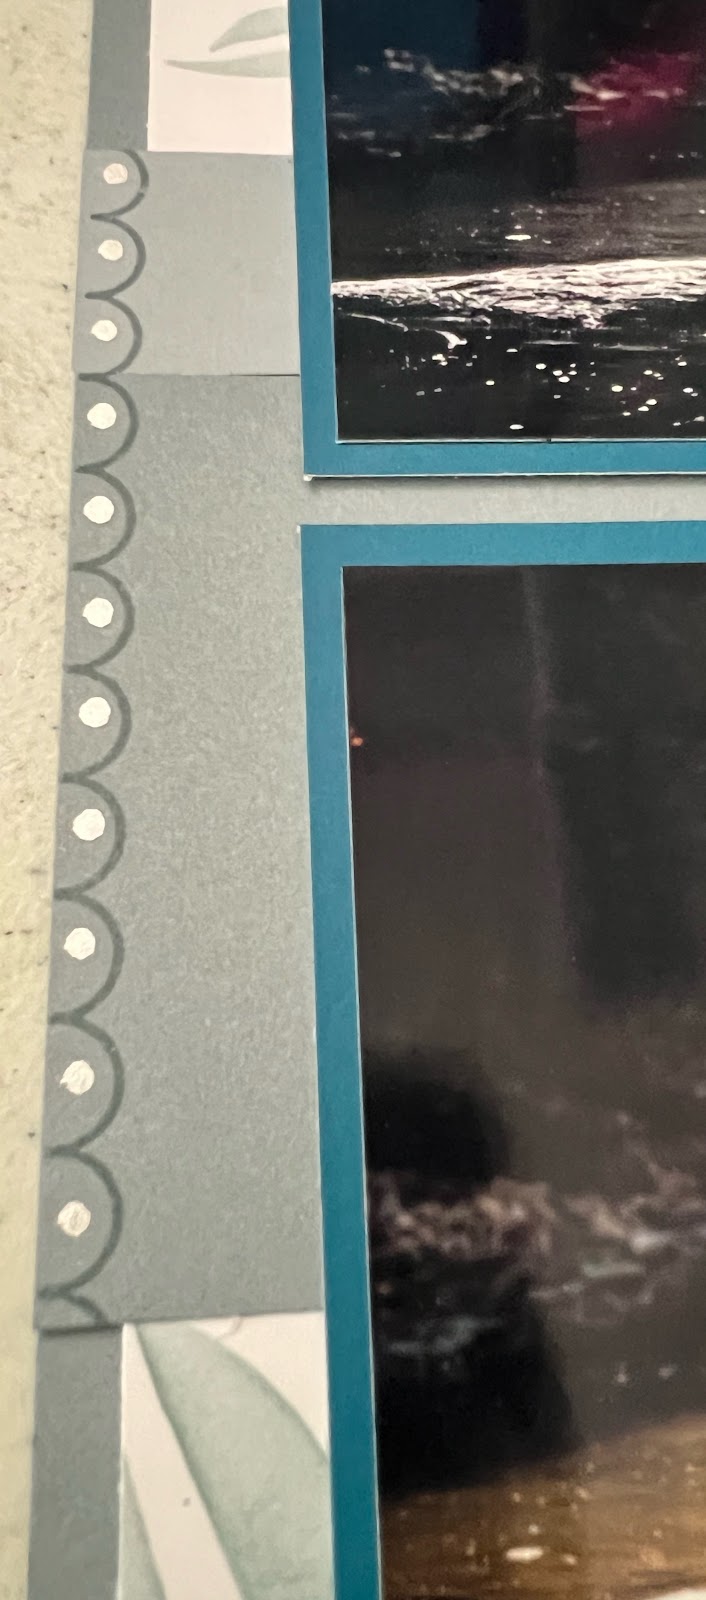
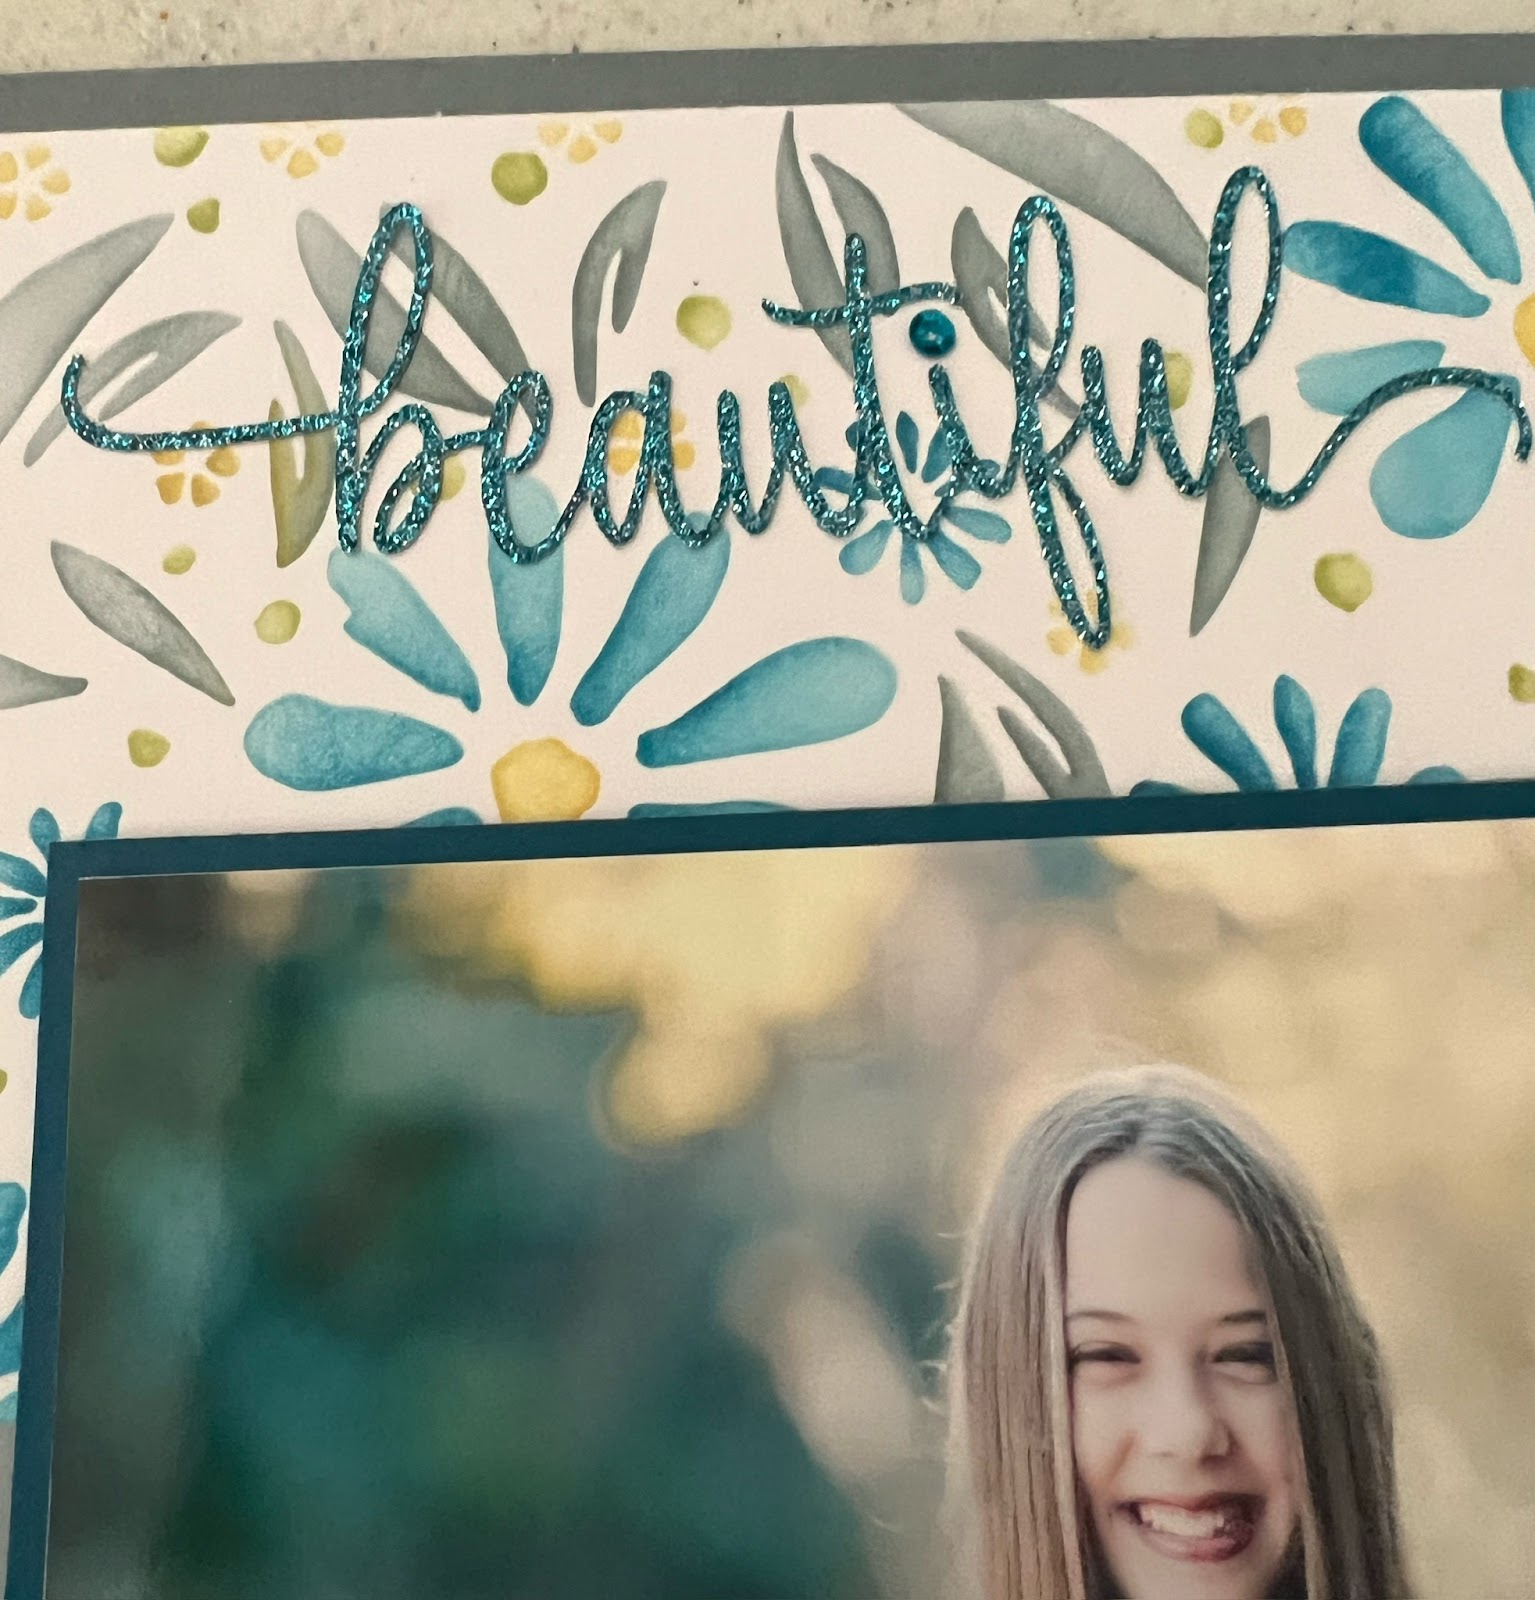
In the photos below you can see a close-up of the Silver Dots added with a Silver Paint Marker.  It makes a nice edge so your eye doesn't roam off the page. On the right you can see the title a bit better. I used our Journey Glitter Paper and Adhesive Sheets so I could make a sticker. The delicate lines of the word were much easier to place on the layout as a sticker rather than to use liquid glue. 


I used the stencil in the upper left corner. This is unique in that you use the stencil 4 times. You rotate it to get the full image! It's a lot easier than it might sound. The other two stencils in the pack work the same way.

Z7040 Stencil Pack 1

If you need a Maker (consultant) I'd be happy to help.
If you'd like to BE a Maker I'd love to have you on my team!

Have you heard about our new VIP Customer Program? As a member you enjoy perks like a discount on your orders, FREE Stamp of the Month, special product bundles and online events. 

Before you go...... be sure to sign up to follow my blog so you don't miss any great ideas! The link is in the column on the right.

Michelle

#showandtellwithmichelle  #ctmh #layout  #colordare #colormyheart #scrapbooking #coloroftheyear

Friday, July 7, 2023

Best Friends Layout ~ Color Dare #556

 Welcome to our first color challenge of July! This month we're sharing 6 colors to inspire you. You must use at least 3 of the colors in the graphic. See the graphic for the fine print rules. 

We reference Close To My Heart colors but you can use any brand you have as long as you can make a very close match. Kind of close doesn't count. When you're ready to join our challenge click here to go directly to Color Dare #556.

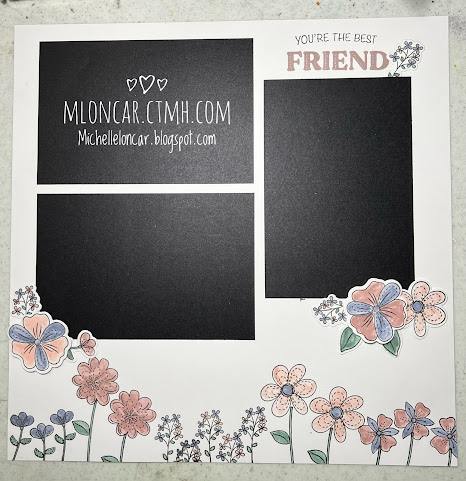
I decided to do a layout for this challenge and love how it turned out. Our new stamp set: Pretty Posies fits the photos I have in mind of my granddaughter and her best friend. 

It's a simple layout in that I stamped a variety of flowers across the bottom and some extra for placing around the photo mats. To color the flowers I went with Shimmer Brushes since my granddaughter loves sparkle. It gives a different look and is a nice option.

Products used for this layout:


Direct Link to Color Dare #556

If you need a Maker (consultant) I'd be happy to help.
If you'd like to BE a Maker I'd love to have you on my team!

Have you heard about our new VIP Customer Program? As a member you enjoy perks like a discount on your orders, FREE Stamp of the Month, special product bundles and online events. 
VIP CUSTOMER SPECIAL
through July 31st


🌟 Calling all VIP Customers and want to be VIP Customers! 🌟 Get ready for an incredible offer: introducing our VIP Bonus Bundles!
As a valued VIP Customer, we have an exclusive treat just for you. With every qualifying order, you'll receive FREE product bundles on top of your existing perks! 🤩
Our VIP Bonus Bundles special comes in 3 amazing tiers of rewards that you can earn with each order you place. ✨ And the best part? There's no limit to the number of qualifying orders you can make during this special, available until July 31. 🗓️
Not only will you enjoy your free Stamp of the Month set, but you'll also earn a generous 15% VIP Credit with every order. Now, with the addition of our surprise Bonus Bundles, your excitement will reach new heights!
Keep in mind that the contents of each bundle may change throughout the duration of the special, ensuring that every delivery brings delightful surprises your way! 🎁
Don't miss out on this incredible opportunity! Place your qualifying orders and experience the joy of receiving VIP Bonus Bundles. 🎉 Hurry, this offer won't last forever.

You'll be prompted to add your VIP Bundle with your order.


Before you go...... be sure to sign up to follow my blog so you don't miss any great ideas! The link is in the column on the right.

Michelle

#showandtellwithmichelle  #ctmh #layouts  #scrapbooking #VIPBundles #colordare #colormyheart

August Product of the Month: Glow of Harvest DSP Pack

  12" x 12" Specialty Designer Series Paper  12 sheets: 2 each of 6 single-sided designs Pearlized finish adds a lovely shimmer to...