Showing posts with label stenciling. Show all posts

Friday, October 4, 2024

Embossed and Stenciled Card ~ Color Dare #621

Come on in! It's time for a Tic Tac Toe challenge from our team at Color Dare! Pick your colors by row, column or diagonal. After that you can use more of the colors in the graphic if you like. There are some Free to add colors, too. See the graphic for the details. 

Your colors must be a very close match. Kind of close doesn't count. Make any paper craft you like. When you're ready to join our challenge click here. 

I used the right column of colors for my card. The image was dry embossed then sponged with ink.  More details shared with the photos.


As I was sponging the color on the leaves I kept it light. This gave it a "pointillism" look as a technique. The flowers are tiny so they came out solid so you could see the color. I added some sparkles and a sentiment and it was done!


Direct link to Color Dare #621


 Floral Sprig Embossing Folder + Stencil
Available individually or as a set.


A few other products used for the card:
This is a great way to create a pretty card in a short time. Change out the colors for a wide variety of looks. 

Thanks for stopping by! Hope to see your project for this Color Dare!

Michelle Loncar
Independent Stampin' Up Demonstrator 

#showandtellwithmichelle #colordare #cardmaking #stenciling #embossing

Friday, November 10, 2023

Journey Layout ~ Color Dare #574

This week we're giving you our fun Tic Tac Toe color challenge. First pick your colors by row, column or diagonal. After that you can use any of the other colors in the grid. You can even use them all. What you can't do is add other colors not in the grid. See the graphic for the fine print rules. 

We reference Close To My Heart colors but you can use any brand you have as long as you can make a very close match. Kind of close doesn't count. Be very careful with your colors if you're doing multiple challenges. Make any paper craft you like. When you're ready to join our challenge click here for the direct link to Color Dare #574.

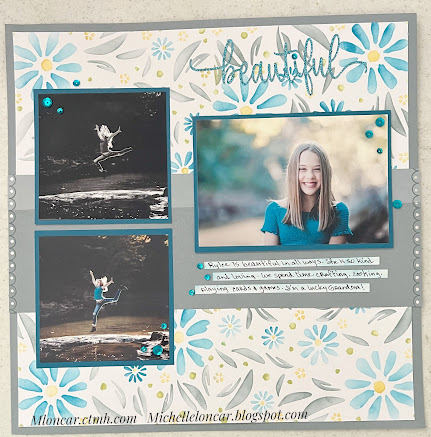
Taking colors from the photos, I started with the left to right diagonal: Journey, Silver, Honey Butter. I then added Limeade and Mist. Using the stencil seen below and blending brushes I created the background. The larger photo is popped up on thin foam tape. I added journal strips and lightly added some Journey ink to soften the look. Journey sequins are sprinkled around to add some prettiness.  

Close To My Heart products used on this layout:


Direct link to Color Dare #574


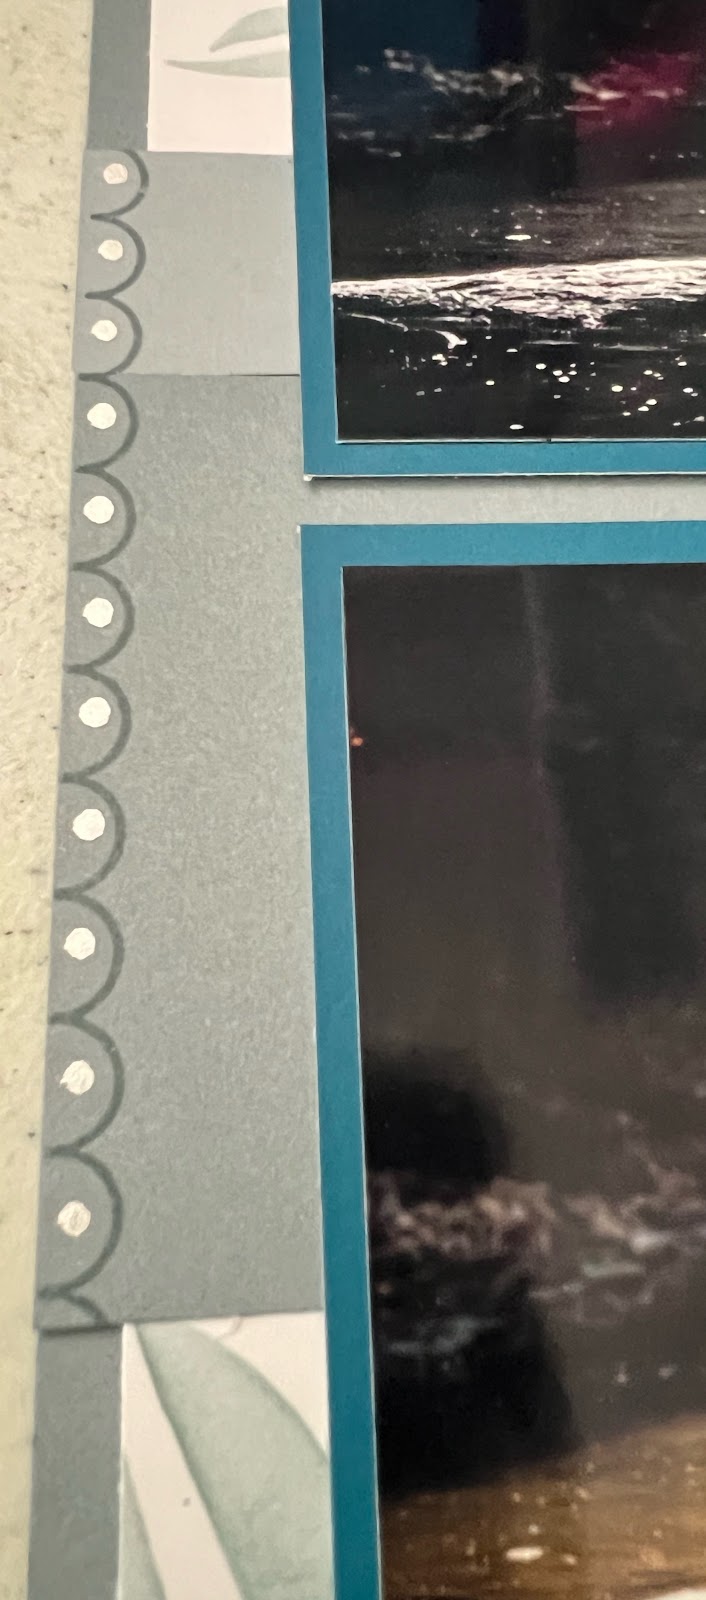
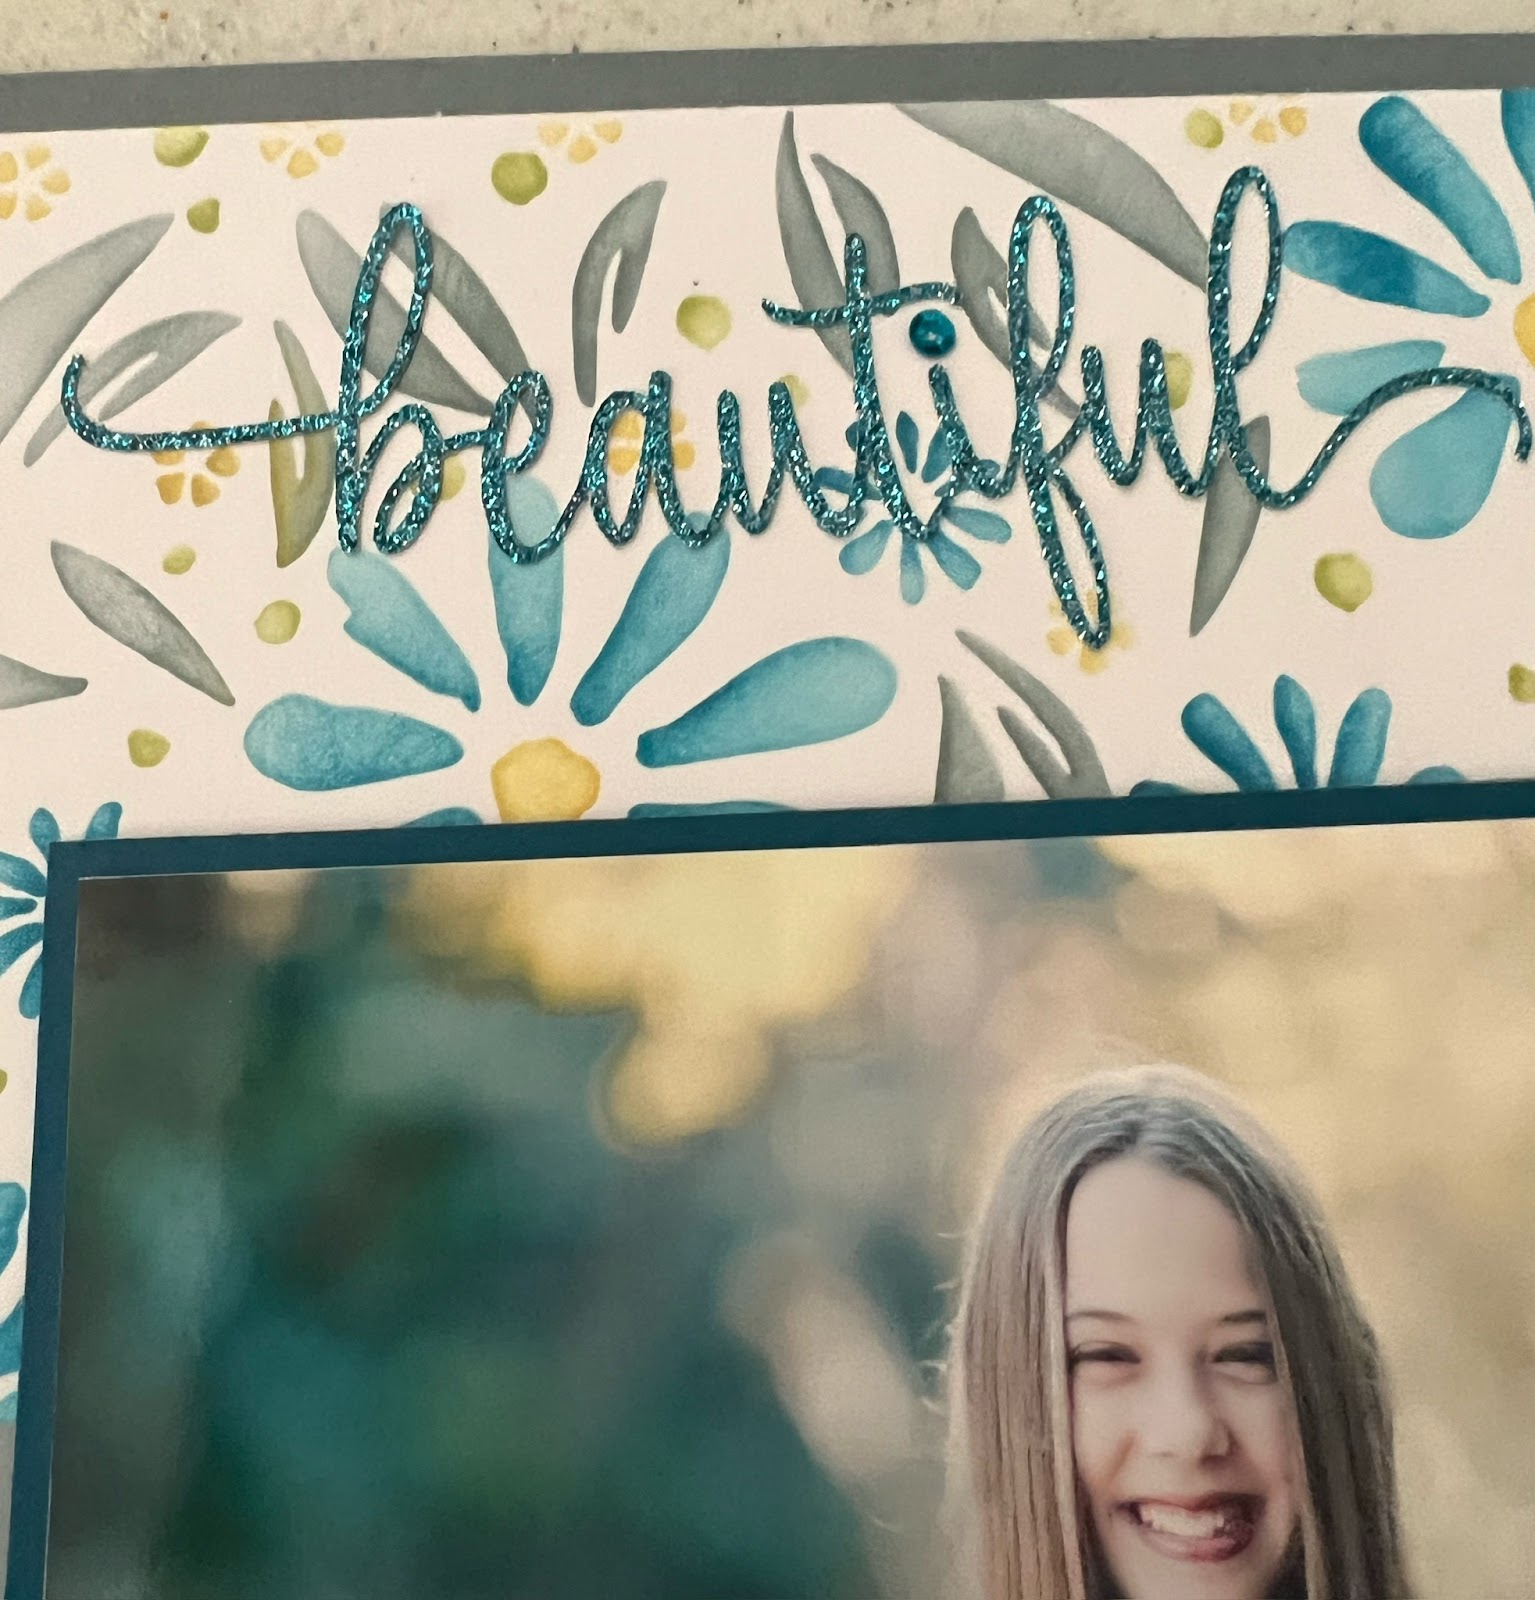
In the photos below you can see a close-up of the Silver Dots added with a Silver Paint Marker.  It makes a nice edge so your eye doesn't roam off the page. On the right you can see the title a bit better. I used our Journey Glitter Paper and Adhesive Sheets so I could make a sticker. The delicate lines of the word were much easier to place on the layout as a sticker rather than to use liquid glue. 


I used the stencil in the upper left corner. This is unique in that you use the stencil 4 times. You rotate it to get the full image! It's a lot easier than it might sound. The other two stencils in the pack work the same way.

Z7040 Stencil Pack 1

If you need a Maker (consultant) I'd be happy to help.
If you'd like to BE a Maker I'd love to have you on my team!

Have you heard about our new VIP Customer Program? As a member you enjoy perks like a discount on your orders, FREE Stamp of the Month, special product bundles and online events. 

Before you go...... be sure to sign up to follow my blog so you don't miss any great ideas! The link is in the column on the right.

Michelle

#showandtellwithmichelle  #ctmh #layout  #colordare #colormyheart #scrapbooking #coloroftheyear

Friday, October 13, 2023

Embossed Christmas Card ~ Color Dare #570

 Well it's time for a new color challenge from our team at Color Dare! This one is easy....or is it? You decide! We're giving you 4 colors of which you must use at least 3. There are some fine print rules so check the graphic out.

We reference Close To My Heart colors but you can use any brand you have as long as you can make a very close match. Kind of close doesn't count. Make any paper craft you like. When you're ready to join our challenge click here for the direct link to Color Dare #570.

I love these colors together and envisioned how pretty they would work for this embossing folder/stencil design. I love the softness of color with this card. What do you think?

First I embossed the background. Next came the stenciling. Just lay the stencil over the embossed images and use Blending Brushes to add the colors. Both the embossing folder and stencil can be used alone but adding them together gives an even greater dimension to your work.

Next I used the Thin Cut die from the stamp set to cut 2 of the large flowers. I stenciled lightly and edged with the Ballerina ink. I curled the petals and popped it up on Thin Foam Tape. A few sequins and some Glitter Paper added to the whole look.

Close To My Heart products used for this card:


Direct link to Color Dare #570


Z7070 Holiday Banner Stamp Set + Thin Cut Dies

Z7062 Christmas Florals Stencils

Z7061 Christmas Florals Embossing Folder

If you need a Maker (consultant) I'd be happy to help.
If you'd like to BE a Maker I'd love to have you on my team!

Have you heard about our new VIP Customer Program? As a member you enjoy perks like a discount on your orders, FREE Stamp of the Month, special product bundles and online events. 

Before you go...... be sure to sign up to follow my blog so you don't miss any great ideas! The link is in the column on the right.

Michelle

#showandtellwithmichelle  #ctmh #cardmaking #colordare #colormyheart #coloroftheyear #christmascards

Monday, June 19, 2023

Layered Layout ~ Dream Maker

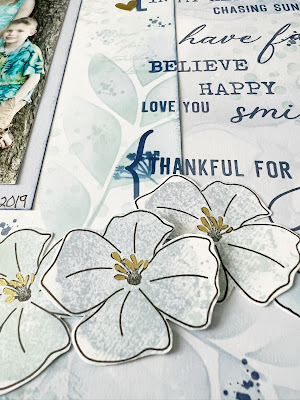
 This layout was inspired by one made by Sherry Heinrich. I just loved it so much I had to put my hands to work and give it a try! this is what I ended up with.

This layout is all about layers made with stamps, stencils and ink. The Dream Maker Special is the product line used to create the layout. The special is only available until the end of June and different items are selling out fast. Be sure to check it out ASAP.

The Exclusive Inks used are Black (flowers), Sapphire, Periwinkle and Glacier. The base is from the Dream Maker Coordinating cardstock (sold out on its own but still part of the Scrapbooking Bundle), but you can still create this look with more stamping and stenciling. Cardstock used is White Daisy and Periwinkle.

There are popped up flowers on Thin Foam Tape and the gold comes from stickers that come with the paper pack. There are also a couple of stickers with touches of gold on them. 

I love the use of the Dream Maker stamp set in so many ways. Layer, layers, and more layers. All working together to create a beautiful look to show off those precious photos.

Click here to see the available Dream Maker products.


If you need a Maker (consultant) I'd be happy to help.
If you'd like to BE a Maker I'd love to have you on my team!

Have you heard about our new VIP Customer Program? As a member you enjoy perks like a discount on your orders, FREE Stamp of the Month, special product bundles and online events. 

Before you go...... be sure to sign up to follow my blog so you don't miss any great ideas! The link is in the column on the right.

Michelle

#showandtellwithmichelle  #ctmh #scrapbooking #DreamMaker #layouts #techniques #stencils

What's Up Wednesday ~ Halloween Treat Cones

Welcome to What's Up Wednesday! My project to share today is how to make treat cones from a 6" x 6" piece of DSP (designer ser...