
Welcome to our monthly hop showcasing techniques! This month we're featuring Plastic Patterns meaning stencils. We have some really great new stencil packs or tons of Cricut images that make wonderful stencils!
The hop is one big circle and the blog before mine belongs to Miss Carrie's Creations. Click on the links in each post to hop to the next blog. You are going to see lots of great ideas so sit back and have fun!
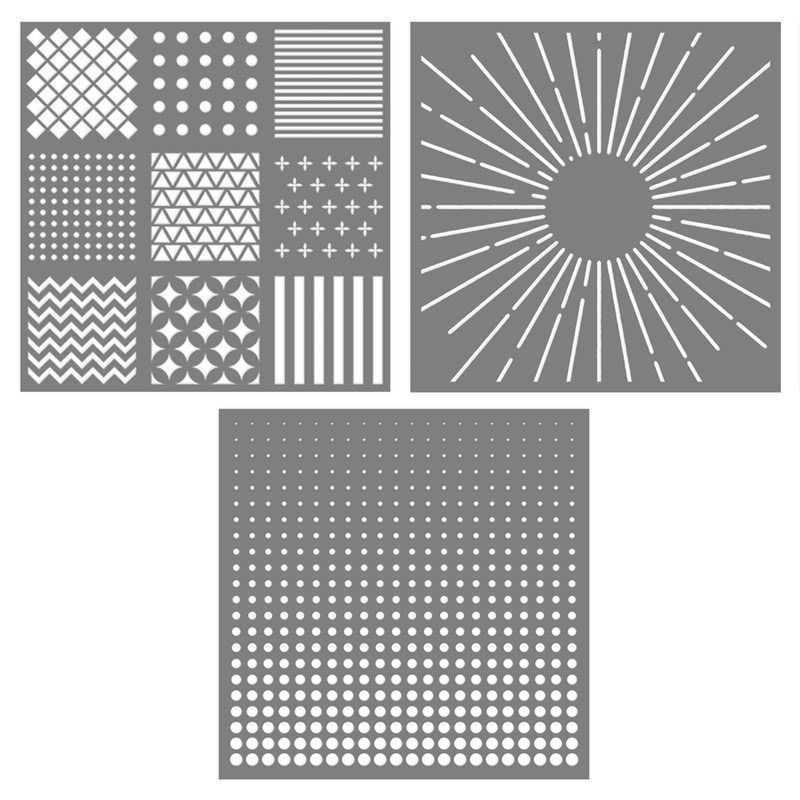
I decided to use one of our new stencils from Pack 3. I wanted a lattice look to my background and thought this would be a good choice to pair with flowers from the Operation Smile stamp set.
For ink I used the Distress Oxide Inks. These inks are a hybrid of water based and pigment inks. They are so creamy and blend beautifully! Using the Mini Ink Blending Tool I created the background. I used The Nebula Glitter Gel on the stenciled background for a bit of sparkle and fun. This gel is applied over the stencil or free hand using a palette tool. I also blended a pattern of color for stamping the flowers which were stamped in Intense Black Ink. the flowers were fussy cut and some were popped up on foam tape.
I continued with the Gold accents for layering the stenciled layers and sentiment, flower centers and thread just for fun.


- White Cards and Envelopes Value Pack
- Cardstock: White Daisy
- Specialty Paper: Gold Foil
- Exclusive Inks: Intense Black
- Distress Oxide Inks: Mustard Seed, Seedless Preserves, Peacock Feathers, Peeled Paint, Shipped Sapphire
- Mini Ink Blending Tool
- Stickles Glitter Gel: Nebula
- Palette Knife
- Gold Glitter Gems, Gold Thread


Wow this is pretty, love how your background turned out.
ReplyDeleteThanks, Maz.
DeleteSo pretty Michelle! I love the lattice and how you added the glitter gel!
ReplyDeleteThis is gorgeous - love how your background turned out!
ReplyDeleteThanks, Alyson.
DeleteStunning, I love the background....WOWZERS!
ReplyDeleteThanks, Brandi.
DeleteGreat card, Ilove the bold colors and how you switch colors for the background; the glitter gel and a great touch with all he gold accents.
ReplyDelete