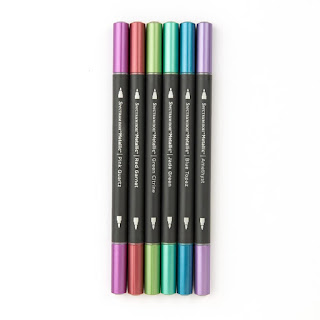
This is the third card in my sharing of Metallic Markers on black cardstock. Click here for Card #1. Click here for Card #2.
As I've mentioned, using the metallic markers on black cardstock makes a dramatic look. For this card I went all out with the colors and created a pretty bouquet look.
First I used an embossing folder to create the raised image. I used black cardstock with a white core and sometimes it cracks when being embossed. To prevent this I simply put a piece of white (or any other color) cardstock on top of the black and embossed them together. This prevents the black from cracking and now I also have a white embossed piece to use on another project!
Once I had the embossing done I was ready to color. You just color the raised part of the image. The ink from the metallic marker flows easily with very little pressure. Just move it across the raised image with either the brush or bullet end of the marker.
When I finished coloring I cut the 4" square piece into 2" squares. I layered the squares on Gold Foil then black cardstock. At the bottom of the card I layered a sentiment popping it up a bit with foam tape. The Gold Thread ties in with the color foil.
 |
| This is a 5" x 7" card. |
 |
| Z2535 Rare Minerals Metallic Markers |
 |
| Z3536 Precious Metals Metallic Markers |
 |
| Z3694 Spring Blossoms Embossing Folders |
 |
| B1728 Sending Well Wishes Used for the sentiments. |
- Cardstock: Black, Sage, White
- Exclusive Inks: Black, Sage
- Specialty Cardstock: Gold Foil
- Gold Thread
- Thin 3D Foam Tape


No comments:
Post a Comment
What did you think? Please leave a comment and make my day!